Description
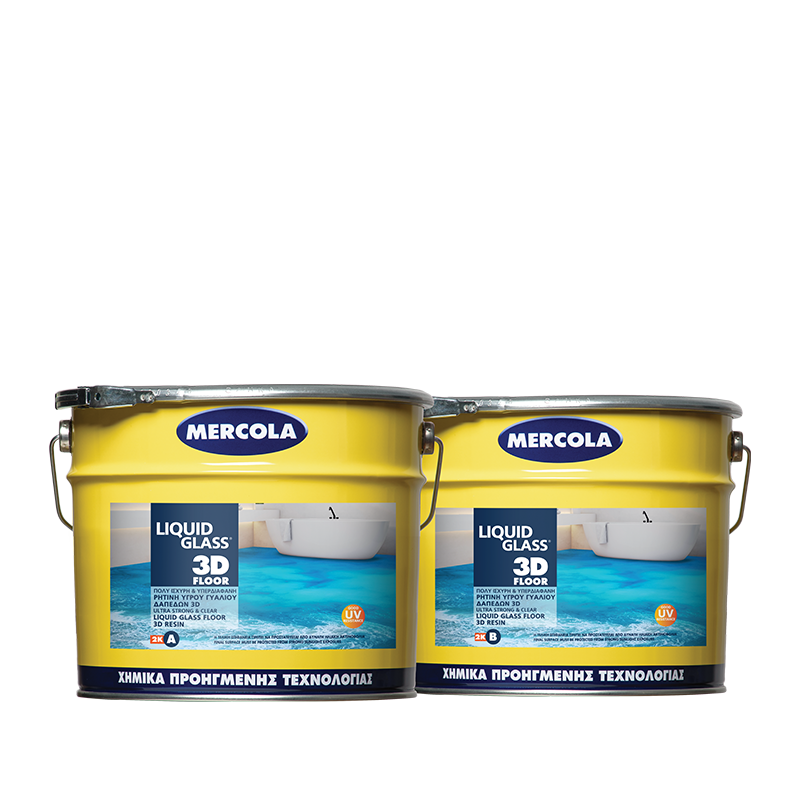
LIQUID GLASS 3D FLOOR is a strong, ultra-transparent liquid glass epoxy resin, two-component, with excellent mechanical strength and adhesion, with high resistance to humidity, solvents and temperature. It is ideal for application on 3D FLOOR type floors, either by coloring with LIQUID GLASS COLOUR pigments, pearls, metallic pigments, or as a simple transparent system that usually overlays good quality photographs or fine decorative objects, which are greatly emphasized by the liquid glass coating. With LIQUID GLASS 3D FLOOR, you can create incredible artistic floor applications for decoration. It is recommended for use in indoor areas without continuous sunlight exposure.
ADVANTAGES
- Extremely strong
- High clarity
- Ideal for 1 to 5 mm layer castings
APPLICATIONS
- LIQUID GLASS 3D FLOOR is applied to wood, metal, ceramics, plastics, marble, granite, stone, concrete, pressed cement mortar and many other materials
- Many artistic and decorative applications can be made from any idea and material. Photos from nature or from your album.
- Floor constructions with decorative elements such as pebbles, coins, decorative objects and many more, as well as pigmented artistic applications using LIQUID GLASS COLOUR colorants.
- Use your imagination, the internet and You Tube for ideas and ways of application
Specifications
 |  |  |  |
Coverage:
~1,1kg/m2/mm | Thinning:
No | Application:
by brush | Application:
by brush |
 |  |  |  |
Application:
by roller | Initial bonding:
24 - 72 hours | Final bonding:
4 - 7 days | Interior use |
 |  | | |
Application temperature:
+15oC to +30oC | Cleaning:
With DIL X 100 solvent | | |
Instructions for use
Surface Preparation
Careful surface preparation is important to achieve excellent results and a long service life.
The application surfaces must be free of dust, grease, loose debris and moisture that may affect adhesion. It should not be applied to wet surfaces or on days when rain is expected. Substrate’s Humidity Limit <4%. Caution: on surfaces where rising moisture occurs, apply EPOXITE DRYMAX WET, a strong transparent 2-component epoxy primer with 100% solids that acts as a moisture barrier. Cracks must be filled with EPOXITE CONSTRUCT two-component epoxy putty. LIQUID GLASS 3D FLOOR has excellent self-leveling properties, so the area to be poured must be carefully molded and leveled to avoid the use of excess material. In case there is a strong slope on the floor or large potholes, to minimize the necessary amount of LIQUID GLASS 3D FLOOR the floor should be leveled with a special self-leveling cement mortar. After the application of the self-leveling cement mortar, at least 6 to 7 days must elapse before the application of LIQUID GLASS 3D FLOOR can begin (Substrate’s humidity <4%)
Priming
Prime cementitious surfaces with the material itself (LIQUID GLASS 3D FLOOR). Apply a thin layer using a roller as a moisture barrier and to seal the pores of the floor to be cast. This minimizes the possibility of bubbles appearing in the final mixture, resulting in an unsightly finish. Prime metal, wooden, and other difficult surfaces using the epoxy primer ALL in ONE EPOXY PRIMER P-76. For other difficult surfaces, please contact the company’s technical department.
Application
You must pay close attention to the quantity and the way of mixing the 2 components. Danger of high temperatures due to exothermic reaction.
A. LIQUID GLASS 3D FLOOR COATING with LIQUID GLASS COLOUR pigments
- Add the desired amount of LIQUID GLASS COLOUR pigments to component A of LIQUID GLASS 3D FLOOR and stir well for at least 3 minutes with a drill at low speed (~200 rpm).
- After the mixture is homogenized, add component B of LIQUID GLASS 3D FLOOR to component A and stir similarly to before. Faster stirring will cause many bubbles to be trapped in the final mixture and may affect the final transparency of the coating.
- For best mixing of the two components of LIQUID GLASS 3D FLOOR, it is recommended to pour the final mixture (component A, component B and pigments) into a new clean container and stir again for 1 minute at low speed.
- Apply the mixture to the properly prepared surface with a squeegee, allowing the material to fill any micro- irregularities of the substrate.
- With the special spiked roller for epoxy floors, evenly roll the surface immediately and after 10 minutes until any bubbles created during pouring are removed.
- Let the surface harden for at least 12 hours before coming into contact with anything. Protect the surface from moisture for the first 48 hours.
- For each layer, it is recommended to pour up to 5mm. Larger thicknesses may lead to an exothermic reaction of the material during hardening, resulting in it warping and turning yellow.
- After 12 – 24 hours, you can repeat the process, achieving thicknesses greater than 5mm. If 24 hours have passed, you must lightly sand the first coat and remove the dust before proceeding with the next coat.
B. LIQUID GLASS 3D FLOOR COATING on 3D printed vinyl flooring
- Print on a special vinyl flooring material whatever you wish to encase, it will give a 3D feel as you see it from above.
- Properly glue the vinyl floor to a porous substrate with SUPRAFIX EN SUPER adhesive, according to the instructions in the corresponding technical specifications sheet.
- Once the adhesive has dried completely and the vinyl flooring has stabilized, you may apply one or more successive coats of LIQUID GLASS 3D FLOOR, ensuring that the thickness does not exceed 5mm per coat.
- For the application, follow the instructions of case A without the use of pigments for a completely transparent result.
CLEANING
Tools and adhesive residues should be cleaned right after use with nitro solvent. After the material has hardened it can be removed using MERCOLA STRIPP &-CLEAN paint stripper.
REMARKS
Continuous, direct exposure of LIQUID GLASS 3D FLOOR to sunlight can lead to yellowing of the coating, ultimately resulting in an unsightly appearance. For strong protection, choose the special two-component acrylic polyurethane protective varnish LIQUID GLASS PROTECT VARNISH 2Κ. Adding a layer of it on top of LIQUID GLASS 3D FLOOR will extend the life of the new floor, providing extra scratch resistance and better UV stability due to the special stabilizers and filters. For optimal results, the temperature during coating and curing should be between 15oC and 25oC. Low temperatures slow down curing, while high temperatures accelerate it. High humidity can affect the finish. Do not apply at negative temperatures or when rain or frost is imminent within the next 48 hours. It is recommended that the casting be done without interruption per layer to avoid creating joints on the final surface of the material. For at least 24 hours, the surface should not come into contact with dust, liquids, insects and other materials that will adhere to it. Otherwise, after the material has completely hardened, these areas should be sanded and the casting should be repeated with the same material more carefully.
COLOURING LIQUID GLASS 3D FLOOR
You can color LIQUID GLASS 3D FLOOR with LIQUID GLASS COLOUR colorants of your choice: LIQUID GLASS COLOUR TRANSPARENT to preserve transparency in your LIQUID GLASS creation, LIQUID GLASS ULTRA TINT for an opaque colored result or choose LIQUID GLASS COLOUR EFFECT to add a metallic or pearl effect. It is certain that whatever your choice is, LIQUID GLASS COLOUR colorants will offer an exceptional color effect to your creations. It takes a lot of care to achieve the desired result. The colorants are very concentrated. 1-3 drops may be enough for coloring 50gr of final product. Instruction for use: Add just a few drops of colorant in component A (resin). Stir well to blend using a spatula or a tongue depressor. Special attention must be given to the bottom and sides of the container. Add part B (hardener) and mix well. Caution: Too much colorant (>2% of total mixture weight) will inhibit the cure of the resin. Colorants may be used to color an entire casting or can be used in a top, middle, or bottom layer to create depth or other effects. Keep in mind that colored resin in your mixing container will look much darker than when poured into a thinner area. It is recommended that the final tint and hardening of the mixture is tested before the application.